You may not be a professional photographer, but that doesn’t mean you can’t take an amazing product photo. If you can snap a camera and follow the tips below, you can take an eye-catching photo that will draw the consumer in. Let’s get started!
The Question of a Camera
Of course, the number one question you may have is: (drum roll please)
What type of camera do I need to take photos of my products?
The answer may surprise you. It doesn’t really matter what camera you use. Sure, you can do a lot of beautiful tricks with a fancy and expensive camera. But, if you know your angles and make good use of light, the 8-megapixel camera on your smartphone will do just fine. This is especially true if you’re starting out, as the last thing you should do is spend a ton of money on fancy equipment that you don’t know how to use. You’ll end up confused, frustrated and overwhelmed.
Don’t do that to yourself. Start small. Grab whatever camera you have, and incorporate the following tips. I guarantee that, by just doing the tips below, your product photography will improve markedly.
Work on Your Angles
What are the best camera angles for photographing your products? Let’s take a look.
Eye Level
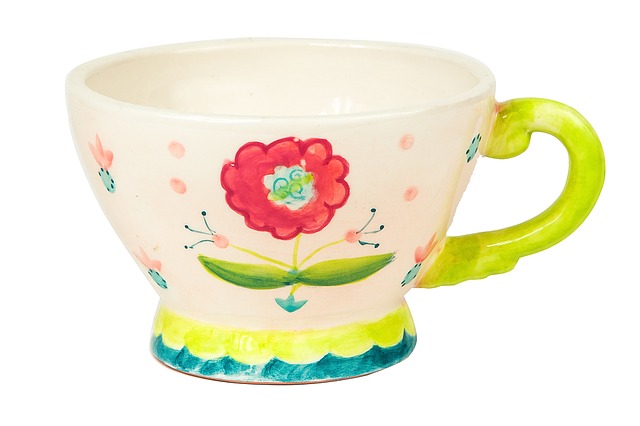 The first photo you should take is one on eye level. What would the customer see if they could physically pick up the product and examine it?
The Close Up
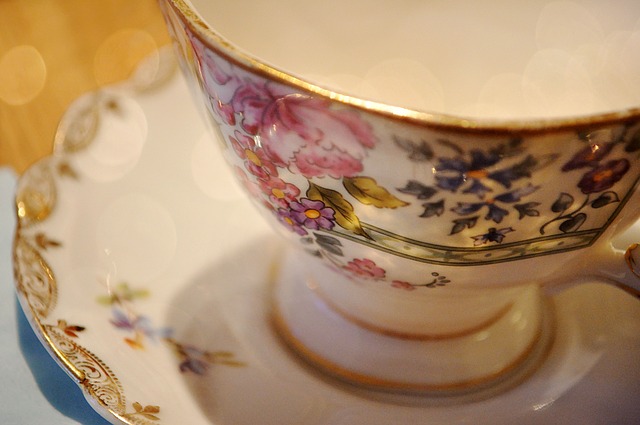 Another spin on eye level is the macro shot. In a macro shot, you bring the camera extremely close to your product and take a photo of the fine details. This allows your buyer to better inspect the product before making the decision to buy. They’ll be grateful for the added thoughtfulness.
To take this shot, you’ll need to bring your camera as close as possible without losing focus. Your camera may have a macro setting. If so, select that preset. (Note: It may be represented by the flower symbol and/or with the word “macro”.)
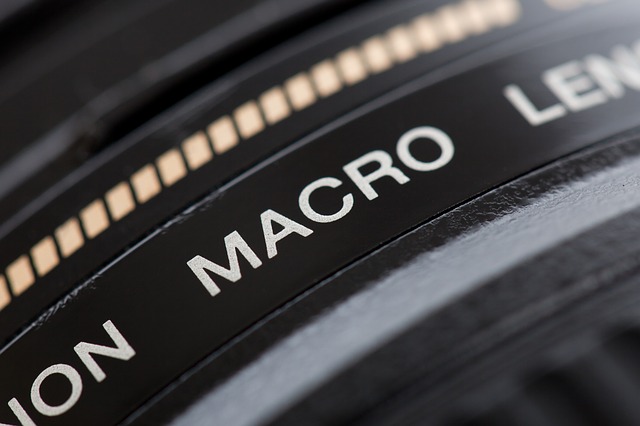 You can also purchase a macro lens for your smartphone.
No matter which option you go for, remember lighting is extremely important (more on that below).
Bird’s Eye View
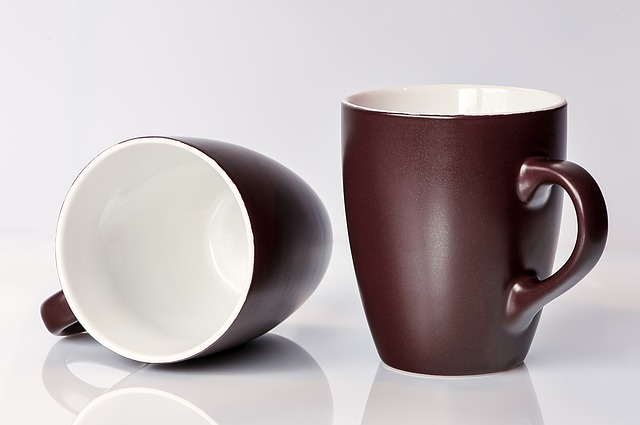
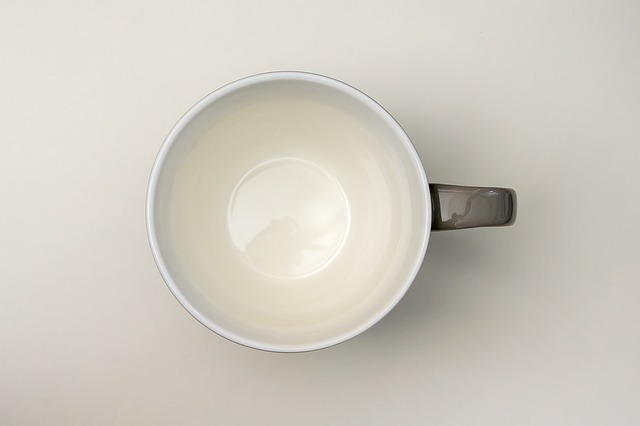 What would the customer see if they looked at the product from above? To capture this shot, you’ll need to have the camera positioned directly above the product. However, you could lay the product on its side to take a photo as long as it does not jeopardize the details.
The Interesting Angle
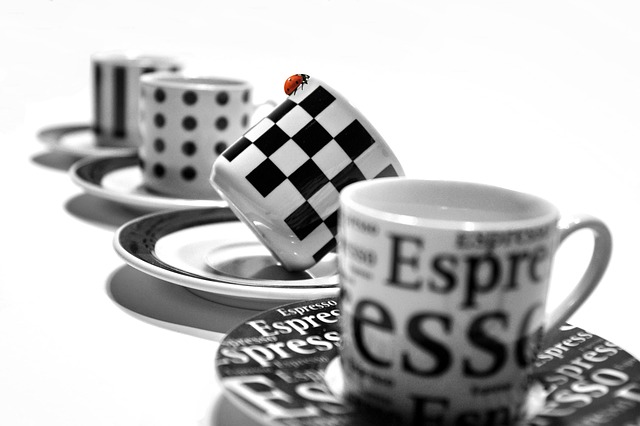 Along with straight on and a view from above, consider taking an interesting angle of your product.
The In Use Angle
Show how your product functions. Take an “action” shot of your product in use. If it’s clothing, snap a picture of it on a person or a mannequin.
Lighting is Everything
In photography, lighting is the most important element to get right. You can have a wonderful camera angle, but if the buyer can’t clearly make out what it is, it’s a waste of a shot.
At the very least, you need a whiteboard (more on that further down in the post) and a source of light. The light source could be artificial, such as a lamp or a photography soft box. But, the best light is always natural. If you can swing it, position your product close to a window to take photos.
But what about flash?
Flash has its uses, but if you’re a new photographer, I’d definitely recommend avoiding flash. An improper use of flash can overexpose the photo and completely washout your product.
It’s best to use natural or diffused light to get a realistic image. And since daylight is free (and best), opt for that as your first choice.
Use a White Background
A white background helps bring visual focus to your product. With a solid white background the product does not need to complete with any visual “noise”. Plus, a white background also helps to bounce the light.
Creating a white background is perhaps the easiest (and cheapest) thing you can do. All you need is a flat white object to serve as your white background. You can head to the school supply section of any shop and find a white poster board to use,or you can shop your local hardware store for foam core boards. It’s the cheapest but the biggest change you can make in your product photography.
Consider Adding Color
Although I love white backgrounds for the majority of product photos because it allows your product to be the star of the show, there may be times when using a colorful background makes sense.
For example, if you want to suggest a romantic or ethereal quality to your product (think: cosmetics and perfumes), a colored background may be the perfect accompaniment.
One of my favorite tips, for marketing beauty products especially, is to create a bokeh background instead of the standard white background. It can add a hint of glamour to your products. Here’s a tutorial for how to create a bokeh background.
If you don’t want to build a bokeh background from scratch, you can also set your product in front of a printed bokeh image. (Here are a few resources to find the perfect bokeh: Freepik, TutsPlus, and Super Dev Resources.)
Create a Photo Light Box
If you’re photographing small items, consider building a light box.
A photo light box, or tent, is an illuminated surface where you can place your items and then take photos of it. It allows you to diffuse light and minimize harsh shadows on the product. Here’s an in depth introduction to using a photo light box.
While you can absolutely make your own, it may be just as easy to buy one. Another benefit of buying one is that a kit often comes with additional lights and a tripod you can use to set up your photo light box.
Choose the Right Editing Software
If you’re not a professional photographer, you probably don’t have access to a premium (and expensive) software like Adobe PhotoShop. Luckily, you don’t need professional-grade photo editing software, either. PhotoShop has a steep learning curve, and it takes years to be able to use it comfortably.
Even better news is that there are tons of free (or nearly free) editing programs available to help you achieve look you need to sell your product.
A few of my favorites include PicMonkey (web-based), Pixelmator (for Mac), or Polarr, which you can use on a web browser or download onto your computer.
Over to You
What’s your favorite example of product photography?


Be the first to leave a comment. Don’t be shy.